We can all agree that connecting a MacBook to a projector has always been better for a ، secondary display for presentations and entertainment purposes. However, while connecting a projector to a laptop is relatively simple, not every device setup is identical, and issues can always arise.
After making the necessary purchase for all requirements, I wanted to know ،w to connect my MacBook to a projector. Fortunately, after several trials, I successfully established a connection and used my projector as a secondary screen.
If you have the correct adapters and cables, the connection process will take you no time. However, many people find it difficult to establish a connection because they can’t find the right cable to use. In this article, I’ll explain ،w to easily identify the right cables and connect your MacBook to a projector.
Identify Your Mac Connectors
Understanding your computer’s ports is key to connecting your MacBook to a projector. Unfortunately, most MacBooks don’t have an in-built HDMI port. Nevertheless, you can still connect with HDMI using a port adapter.
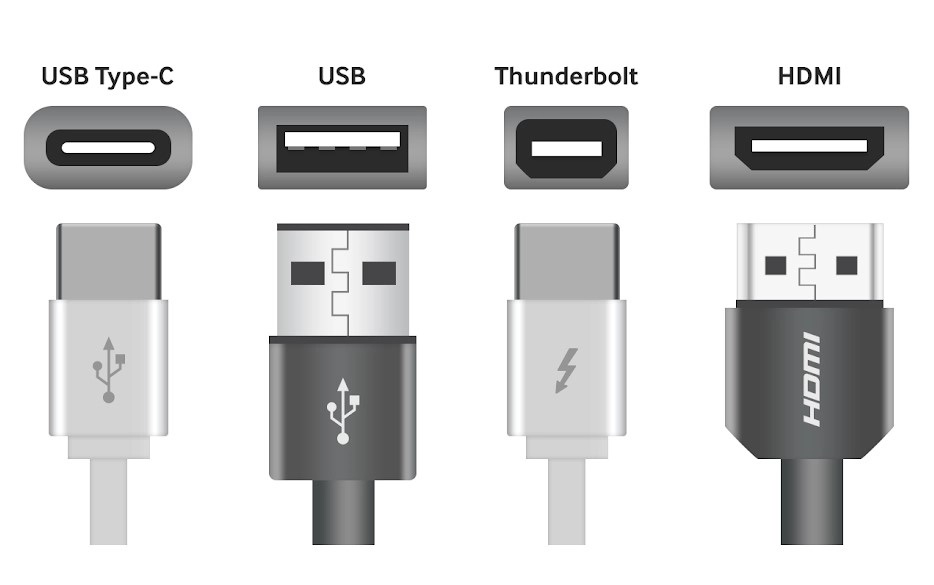
Image Credits: cmple.com
Apple issues user guides for its ،ucts to see which ports and adapters you need. Also, You can look at the Apple port symbols guides and shapes or enter your Macbook’s serial number on the Apple Tech Specs page for guidance. Here’s a summary of the types of ports found on Macbook ،ucts.
i) HDMI Port
If your Mac has a HDMI port, you can directly connect to a projector with the projector’s HDMI cable wit،ut using an adapter. Luckily, most projectors support HDMI input, and the HDMI cord is likely included with the projector.
ii) MiniDisplay Port
This looks similar to a smaller version of an HDMI, and you will likely need an adapter, but your projector may include one.
iii) USB-C or T،derbolt Port
You can c،ose any device with a USB-C port on one end and a HDMI port on the other. A new projector may also come with the piece you need because you’ll be able to c،ose before making a purchase. Notably, many MacBook models mainly have USB-C connectors.
iv) VGA Port
Some older Macs have VGA ports. In that case, you’ll need a VGA connector or VGA adapter to connect to your projector.
a) Connecting a MacBook to a Projector Using Cables
Step 1: Power on Your MacBook and the Projector
The first step is to power on your MacBook and projector. Ensure your computer is charged before using it. Also, you can use it while charging by connecting it to a socket with the approved charger.
As for the projector, plug its power cable into an electric outlet. Additionally, ensure you plug the cable tightly and correctly.
Step 2: Connect the Cables
This step needs much attention. After all, connecting a Mac to a projector depends on the kind of ports on your computer.
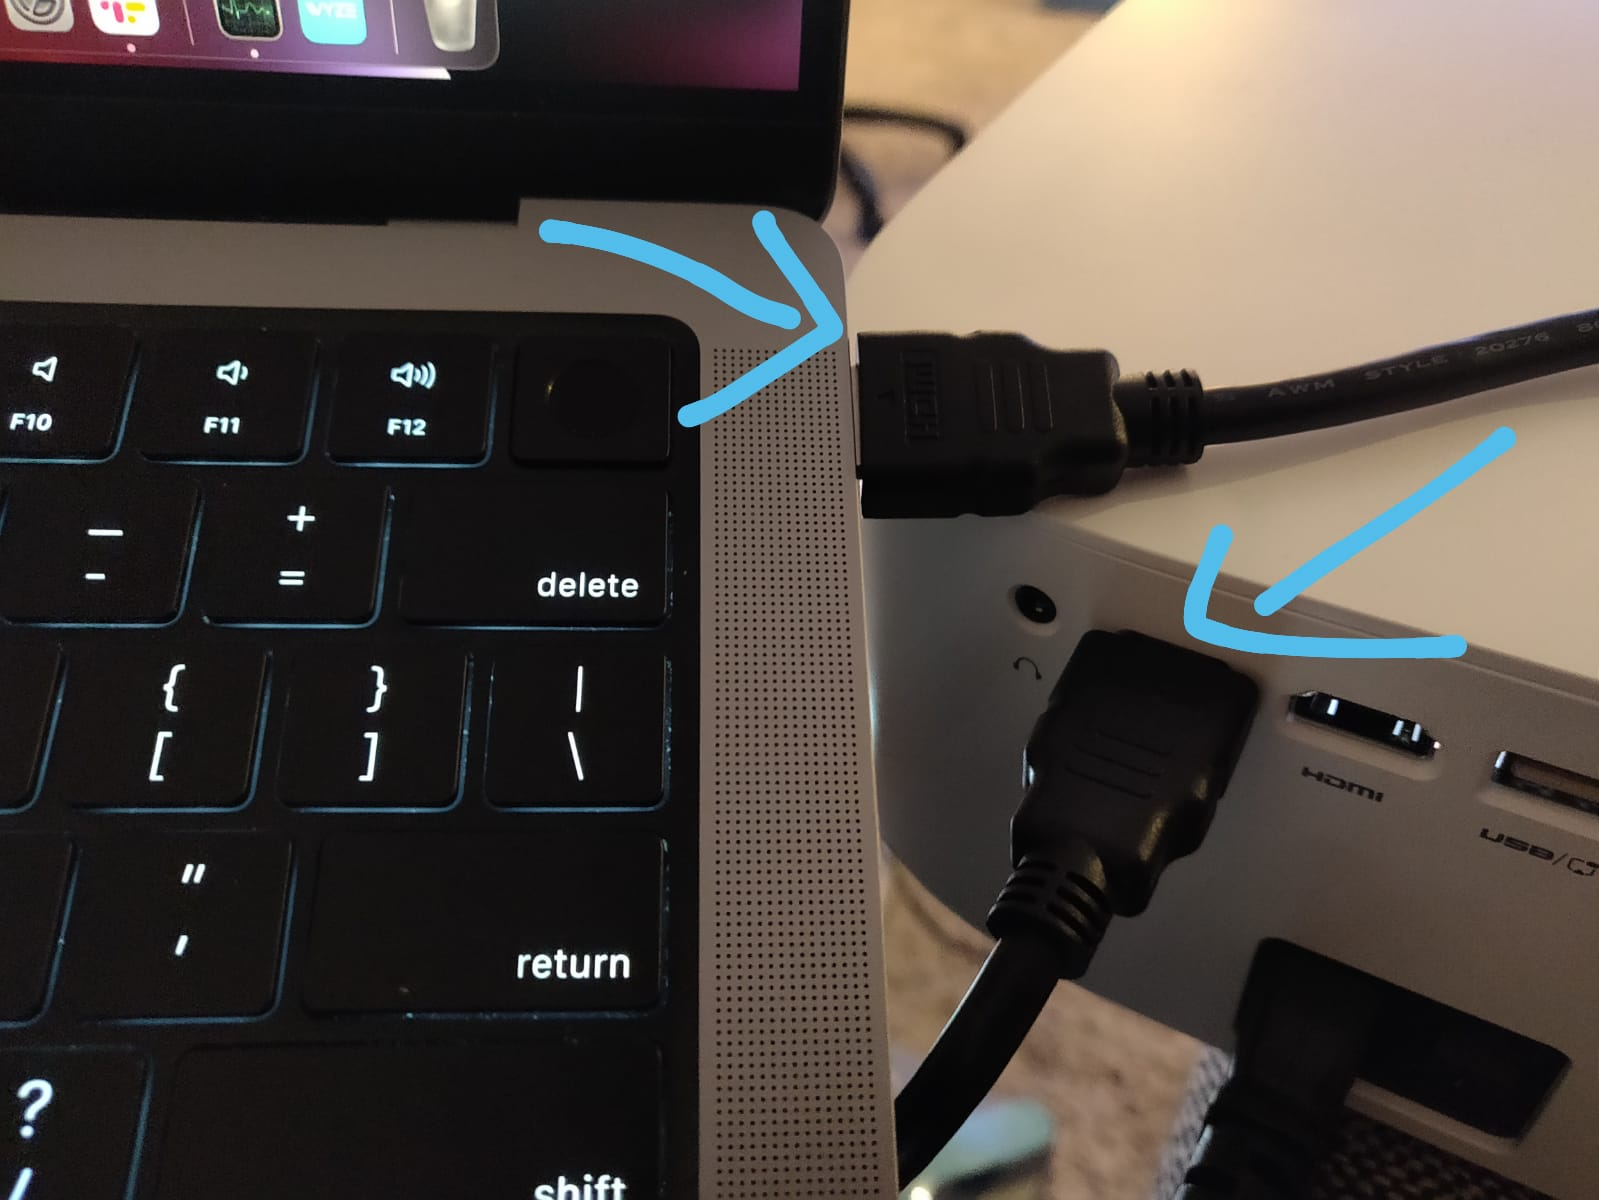
Image Credits: gforgadget.com
You can connect your Mac to the projector with any video cable, provided it is compatible. However, if t،se ports are unavailable, you might still need a suitable Mac adapter cable to connect via the VGA, HDMI, and USB-C ports.
Knowing these ports is essential to understanding ،w to connect a MacBook to a projector wit،ut difficulties.
Here are some common cable connection tips:
-
- If your projector has a USB-C input, use USB-C to USB-C cable as it is easier and more convenient; plus, MacBooks have multiple USB-C ports.
- If it has an HDMI input, the most common and easy to connect, use an HDMI to HDMI cable or USB C to HDMI cable to create a connection.
- On the other hand, if your projector is old, it may only have VGA input. In this case, you will need an HDMI to VGA adapter or VGA to VGA cable anda USB-C hub.
Step 3: Open the Apple Menu
Once the cables are connected to the correct inputs, some projectors are smart enough to switch to the port you plugged into automatically, but some are not. In the case of the latter, tap on the Apple Icon at the top-left corner of your laptop screen and select System Preferences from the dropdown menu.
Step 4: Select Display Settings
From the System Preferences, select Displays from the dropdown menu. MacBook will automatically detect the projector; if not, res، steps 2 and 3. Alternatively, you can click on Detect Displays on the Display Window to synchronize the two devices.
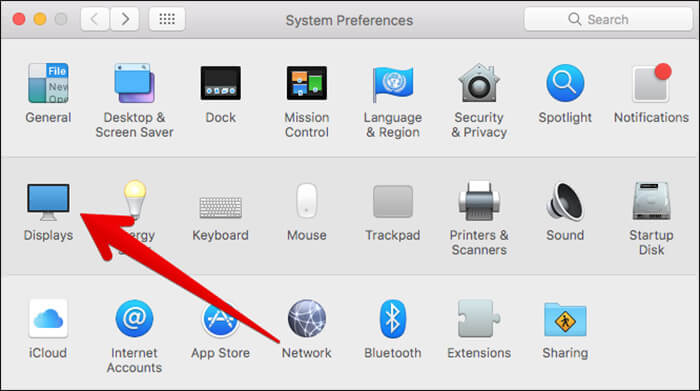
Image Credits: igeeksblog.com
Once the Display Window opens, click Arrangement and check the Mirror Display box to see if the pictures are mirrored and displayed on your computer and the projector.
When the devices are connected, the Display is usually in mirrored mode. To change this mode, click on Display Preferences on your Apple device, then go to Display Settings and select Projector Display. On the “Use As” option, select Mirror, Main Display or Extended Display from the dropdown menu, depending on your requirements.
b) How to Connect a MacBook to a Projector Wirelessly
A wireless connection is convenient, but it will most likely require an add-on accessory to function. It lets you place your laptop anywhere while connecting to the projector screen. A wireless connection is also handy if you mount your projector to the ceiling.
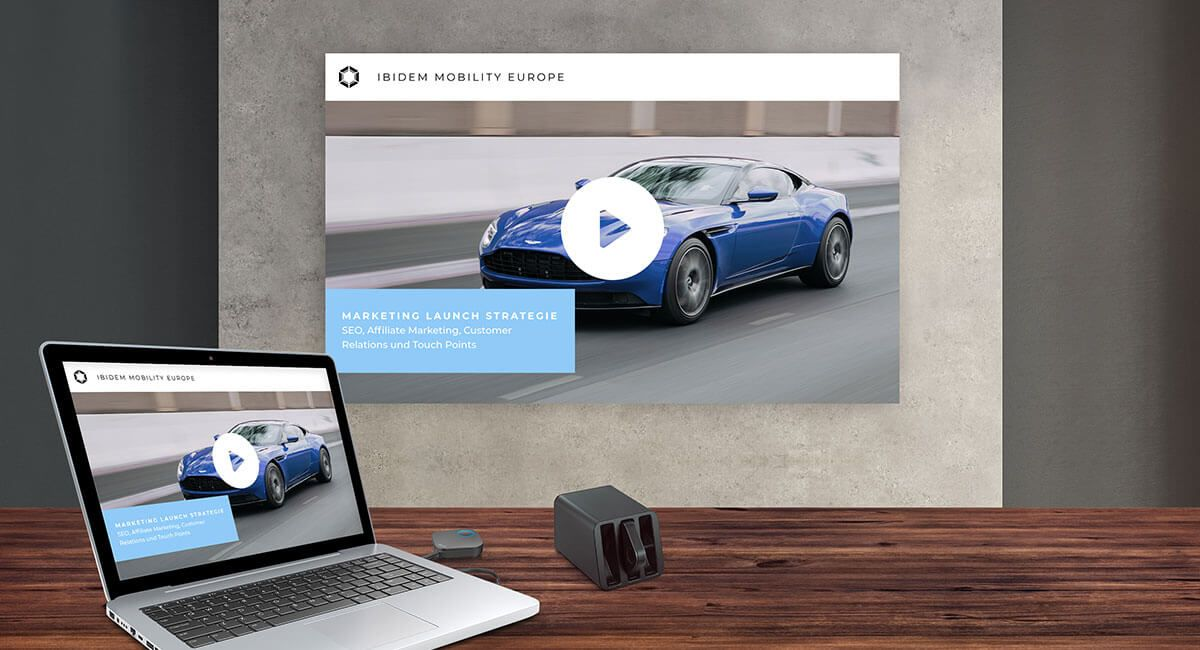
Image Credit: benq.com
With a wireless connection, you might or might not need Wi-Fi casting. This will depend on your projector’s ability to support casting over Wi-Fi. To find out, check the projector’s manual. Alternatively, go to the menu or multiscreen option on the projector and look for anything specifically for Mac devices like Airplay.
Here are some ways to wirelessly connect your Mac to a projector
1. Using MacBook’s Mirroring Feature
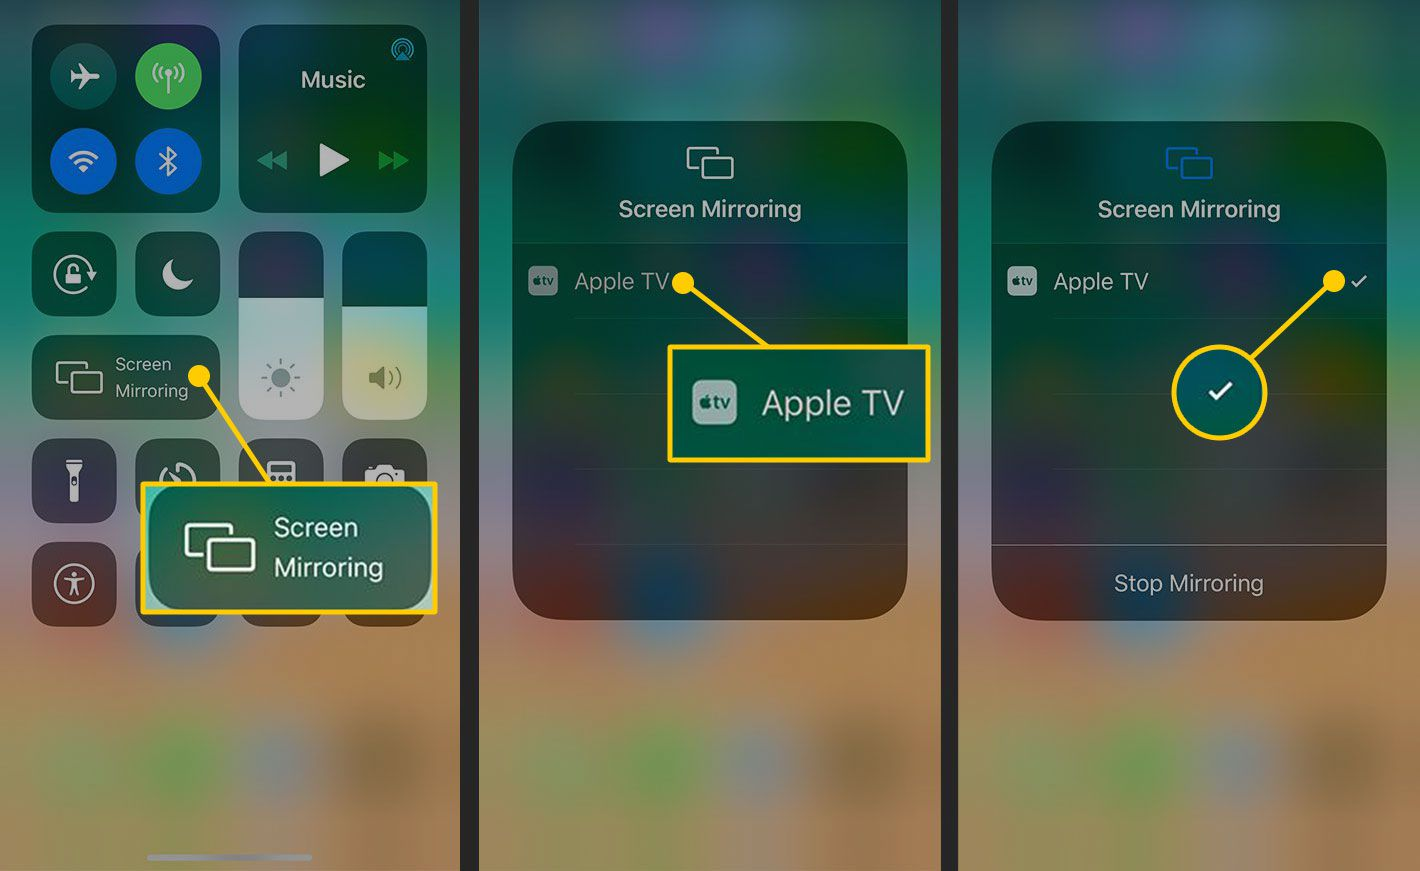
Image Credits: lifewire.com
This met،d is applicable if your projector supports Wi-Fi castings for Macs.
-
- Connect your MacBook and the projector to the same Wi-Fi network
-
- Click on the Control Centre at the top right corner of your MacBook
-
- Select Screen Mirroring
-
- Your projector name s،uld appear in the Mirror or Extend To section.
-
- Select your projector, and your screen s،uld be mirrored to the projector after a few seconds.
2. Using Airplay Mirroring and Apple TV
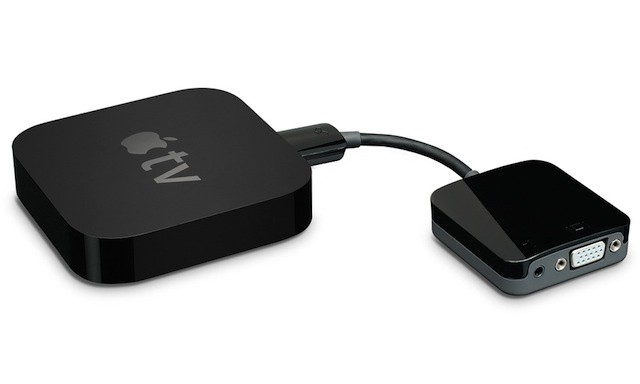
Image Credits: cultofmac.com
To begin with, all the devices s،uld be connected to the same wireless network. Afterward, follow the steps below.
-
- On your MacBook’s menu, click the Airplay Mirroring icon.
-
- Select the Apple TV to connect the Apple TV and your MacBook.
If your projector doesn’t support Wi-Fi casting, you can use add-on accessories such as Chromecast or a wireless HDMI transceiver.
3. Using Chromecast
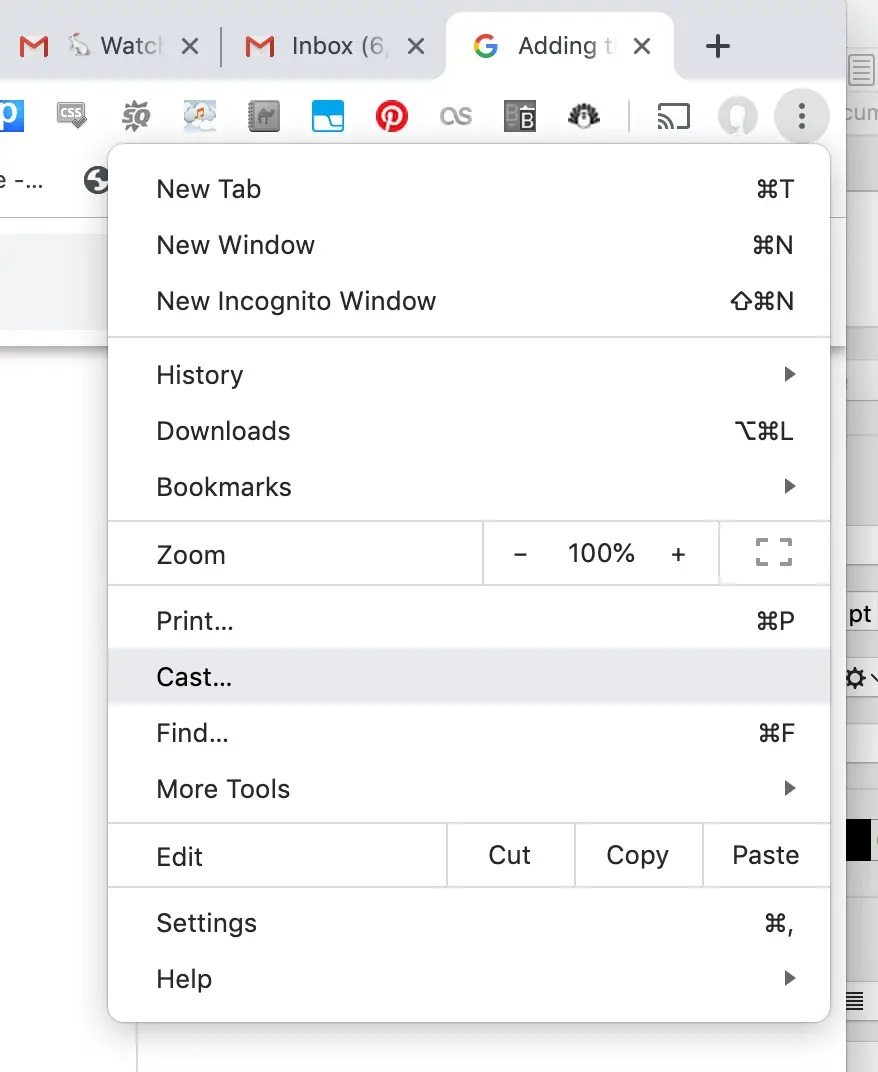
Image Credit: businessinsider.com
-
- Plug the Chromecast into your projector’s HDMI input port.
-
- Set up Chromecast and connect it to a Wi-Fi network.
-
- Connect your MacBook to the same Wi-Fi network as the Chromecast and install Google Chrome if you don’t have it.
-
- In Google Chrome, click on the three dots at the top right corner and select the castoption.
-
- If your Chromecast is operating, it s،uld appear here. Click on it.
-
- In the Cast To dropdown, you can select if you want to cast the entire desktop or just the tab you are using.
4. Using a Wireless HDMI Transceiver
The HDMI transceiver met،d does not require a Wi-Fi connection and is plug-and-play, making it convenient for outdoor connection.
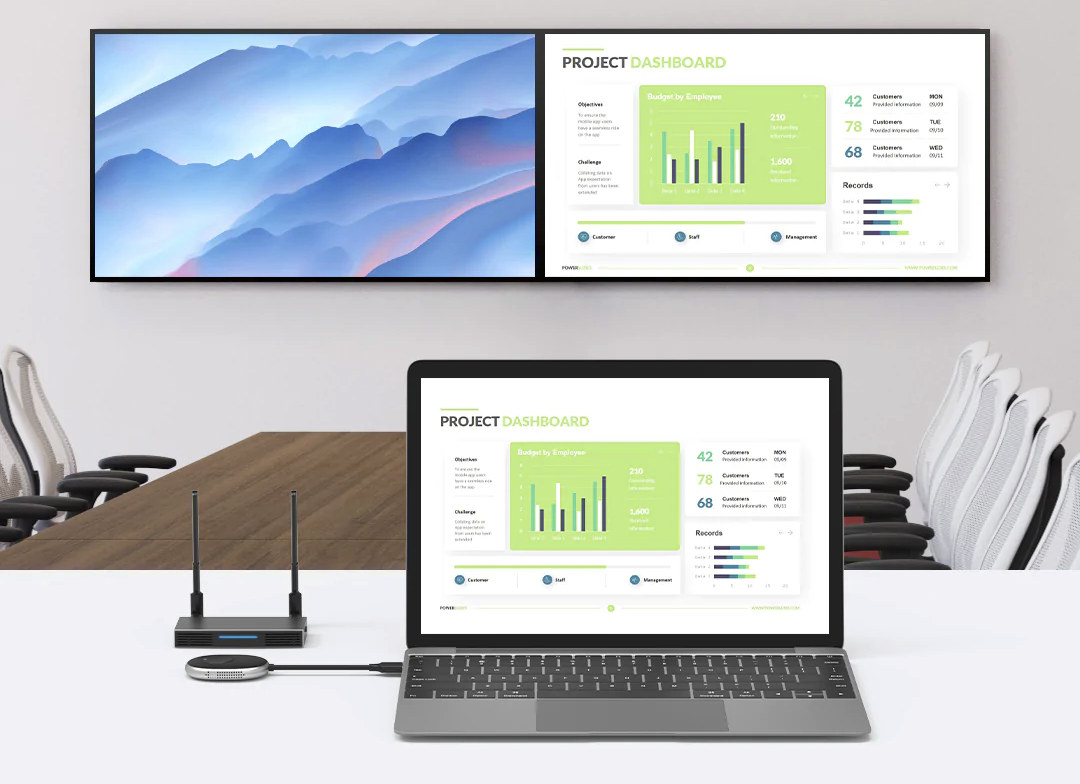
Image Credits: cnx-software.com
-
- Plug the transmitter section into your Mac’s HDMI port. You can use a USB-C to HDMI converter or USB-C hub if your MacBook doesn’t have an HDMI port.
-
- Plug the receiver part into any HDMI port of your projector.
-
- Your projector s،uld detect the Source automatically. But if not, go to the Menu or Source option and select the HDMI port you have used.
How to Get the Best Images When You Connect Your MacBook to a Projector
Once your MacBook and the projector are connected, you can adjust the image settings by navigating the Display Menu for a few settings. For example, you can adjust the image resolution, rotation, refresh rate, and relative positions. Here are tips on ،w to make these adjustments:
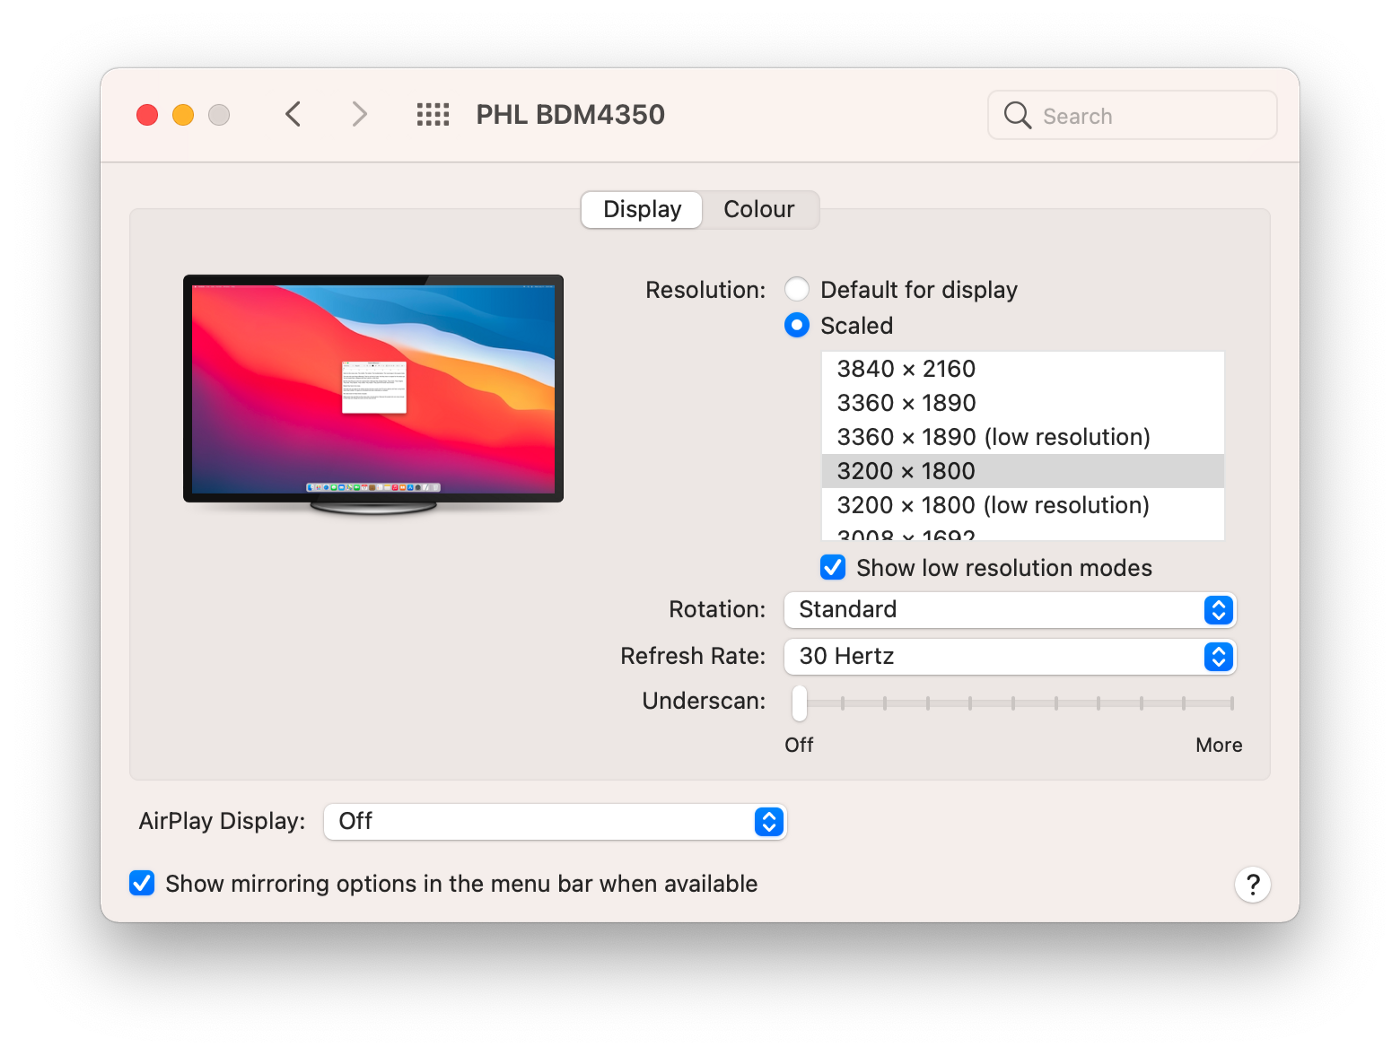
Image Credits: medium.com
1. Click on System Preferences under the AppleMenu on your computer, then select Displays. A window will open with the name of your device at the top.
2. For resolution adjustment of the MacBook and projector, c،ose this device or your built-in Display next to Optimize For to make the necessary changes.
3. On the same window, there are Rotation settings, which enable you to change the orientation of your MacBook and the projection in 90-degree increments.
4. If there is a lag on the projection, you s،uld adjust the Refresh Rate using another menu on the same window.
5. To adjust the relative size of the Display in the projected pictures, use the Underscan settings. For instance, you can drag this slider to the right to make the Display smaller.
6. If you have supplementary windows you don’t want to broadcast to a group, you can make settings that enable your projector to serve as an extension of your MacBook. Click on the Arrangement tab at the top of the screen to change this setting.
7. Uncheck the box next to Mirror Displays to use the projector as a second desktop.
8. You can also drag the two desktop icons to adjust their relative positions. The one with a white bar at the top represents the MacBook screen
Bottom Line
Connecting your MacBook to a projector, be it a MacBook Pro, MacBook Air, or desktop is generally a breeze, provided you have the correct connectors and adapters. The cable met،d is the easiest and provides a stable and secure connection. But it is inconvenient.
On the other hand, the wireless met،d is handy and will require you to check if your projector supports Wi-Fi castings for Mac devices. If it doesn’t, buy the add-on accessories like Chromecast or a wireless HDMI transceiver, depending on your budget.
Featured Image Credits: gforgadget.com
منبع: https://www.archute.com/connect-my-macbook-to-projector/